April 18, 2018
Here are 5 Free 3D Printing Recipes Featured in Emerging Objects’ New Book
The Bay Area studio Emerging Objects seeks to innovate new 3D printing technology and materials for architects—and they’re sharing some of their recipes here.
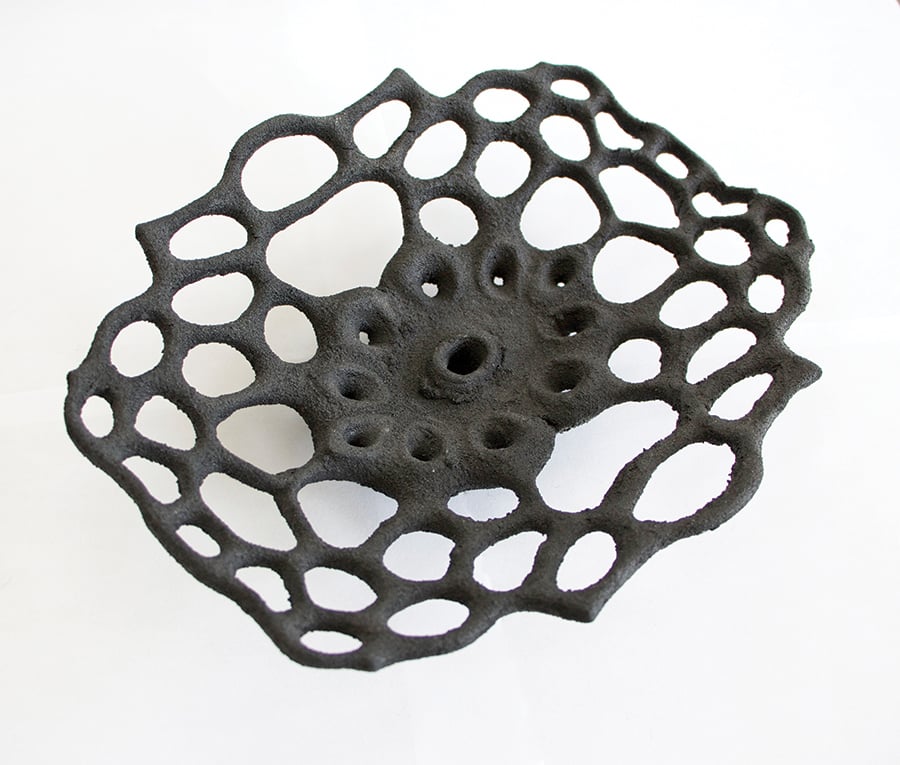
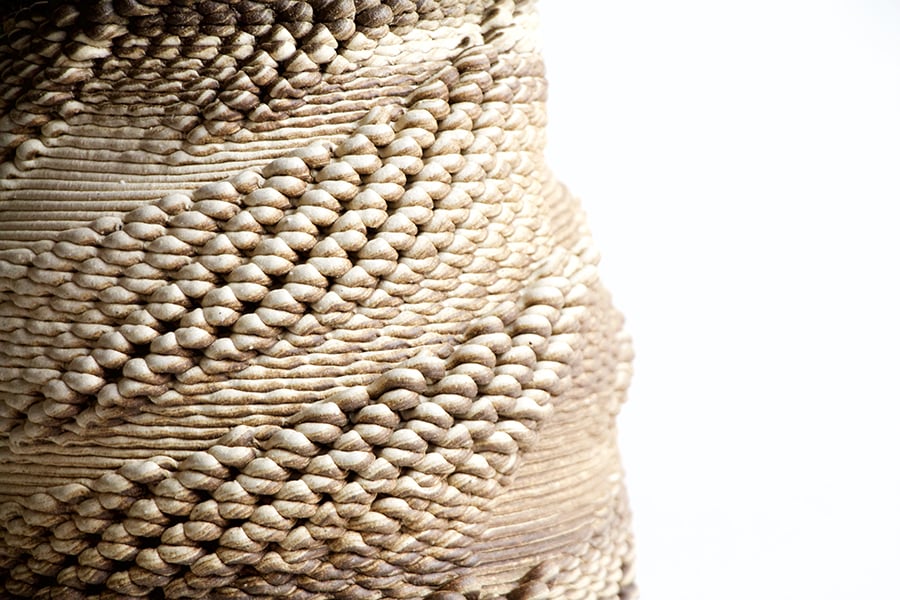
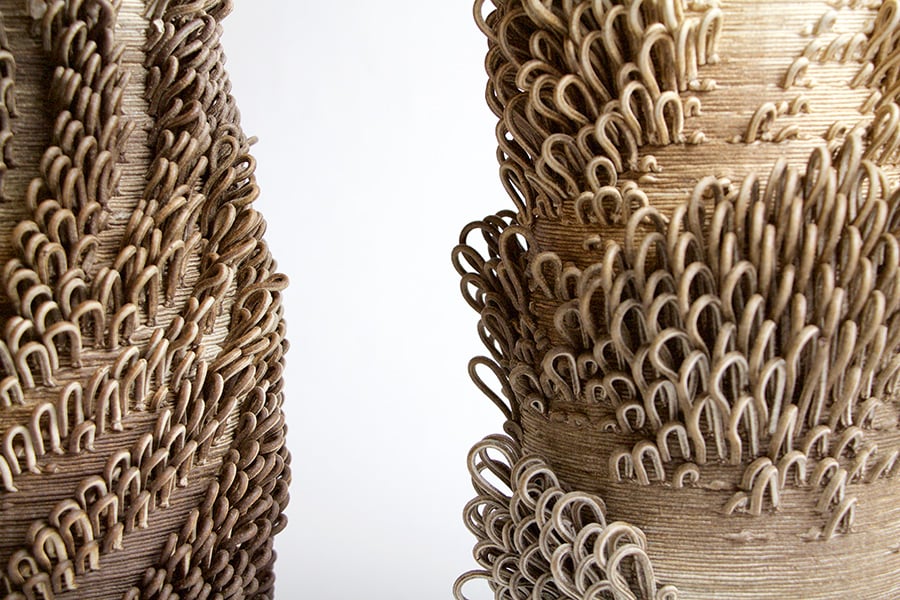
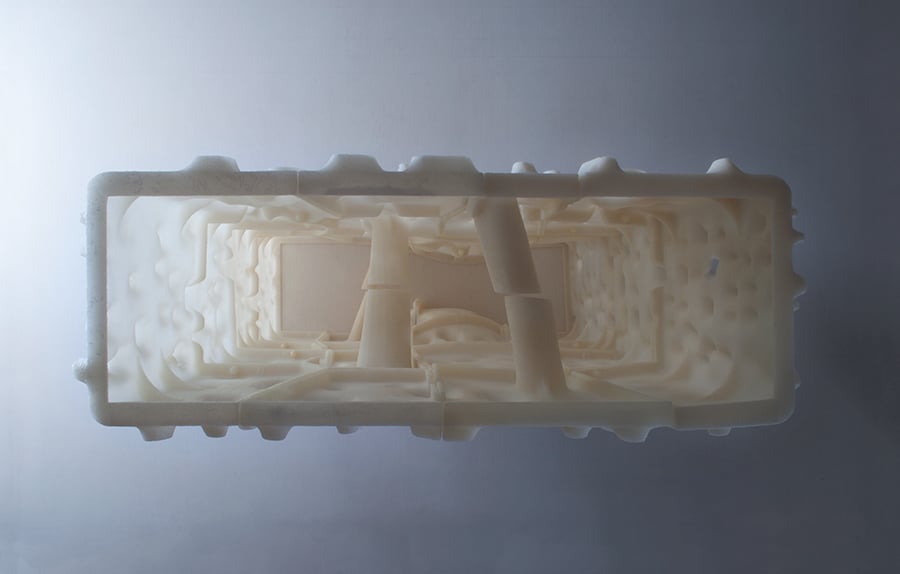
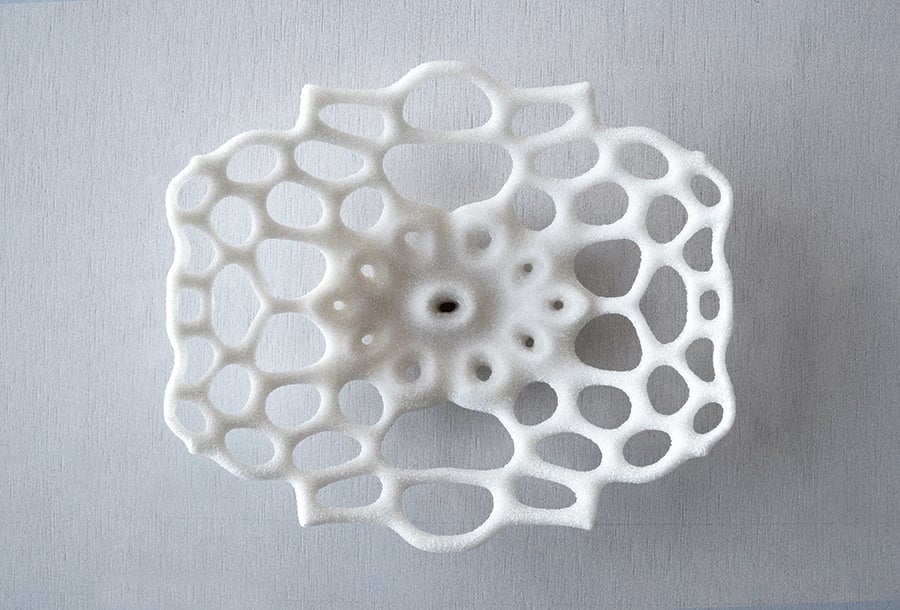
The following excerpt was taken from Printing Architecture: Innovative Recipes for 3D Printing, written by Ronald Rael and Virginia San Fratello of Bay Area–based Emerging Objects. The studio focuses on innovating 3D printing process for architecture and design projects. Emerging Objects’ 3D printed designs, which use materials ranging from bioplastics to sand and sugar, are showcased in the new book, which becomes available May 1 and is now available for pre-order.
Printing Architecture features a wide range of the studio’s work, but also features several 3D printing recipes that are excerpted below.
Many companies and schools around the world own powder-based binder-jet 3D printers (often of the unsupported Z Corporation brand). These printers are quite simple devices; they employ an additive manufacturing process that deposits a binder material onto a thin layer of powder. The liquid binder is sprayed from an off-the-shelf inkjet printhead (hence “3D printing”). These printheads are the same as those used in 2D printers, but when 3D printing, the black ink is purged from the printhead and replaced with a water-based liquid binder that fuses the powder particles together.
The proprietary materials (powders and liquid binders) associated with these printers can be very expensive. But because the liquid binders consist mostly of water, it’s easy to use other water-based materials in their place. The powders are also easy to substitute, as long as they are very finely pulverized and have some water solubility.
The ingredients used for concocting the objects throughout this book vary. Different formulations were generated specifically for each material and refined for their performance, flowability, adhesion, precision, and strength. Developing the constituents for each recipe has been a lengthy process involving much trial and error. Nevertheless, anyone can create powder materials for 3D printing.
Here are a few quick recipes to jump-start the process of making open-source liquid binder and powder mixtures for binder-jet additive manufacturing.
These recipes have been successful for the authors of this book and are true and complete to the best of our knowledge. All the recipes are made without guarantee on the part of the authors or publishers of this book. The author and publisher disclaim any liability in connection to the use of these recipes.

Liquid Binders
Rice Wine Binders
If you aren’t in the mood for cooking, the easiest binder to use is sake rice wine right out of the bottle. Inexpensive, unflavored, and uncolored is best. You may try a few brands, but make sure that there are no particles in the liquid and that it is distilled, clean, and clear (15–20% alcohol). You can open the sake and pour it right into the binder bottle before you purge the printhead. Then run the purge cycle to remove the black ink from the cartridge, and it’ll be replaced with the rice wine. You may get an overheat error, but simply rerun the purge cycle. Once you begin printing, you’ll notice a beautiful aroma of rice wine filling the air.
Alcohol and Water Binder
A simple recipe for binder requires only two ingredients.
Ingredients:
- Drugstore brand 91% isopropyl alcohol (280 ml)
- Distilled water (920 ml)
Method:
- Mix alcohol and water in a container.
- Shake or stir as preferred. 3 Pour into the binder bottle and serve.
Powders
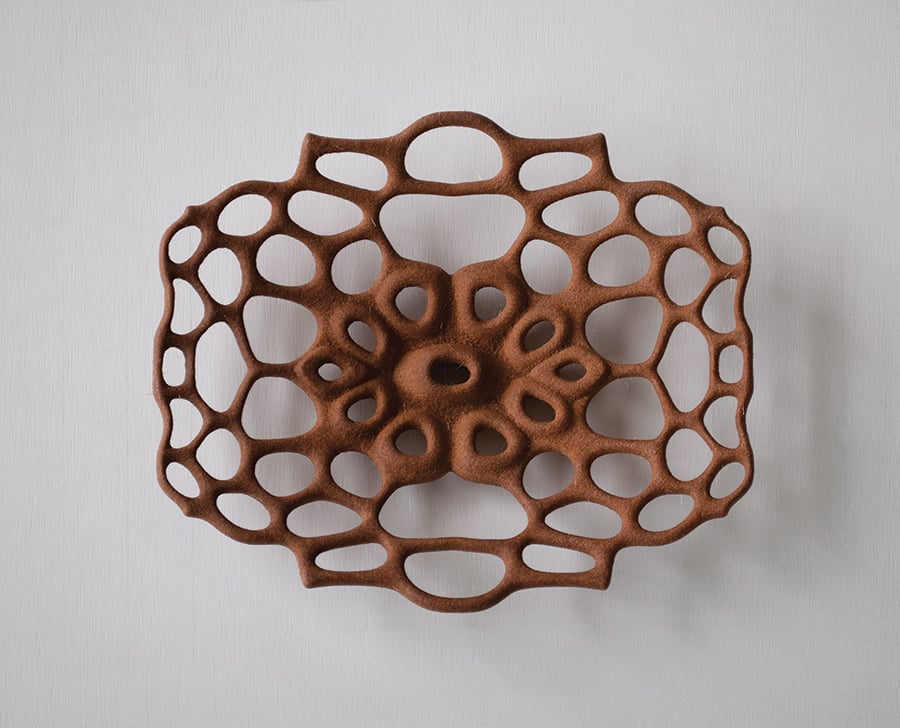
Terra-cotta Slip
This is a recipe for 3D printing ceramics that can be fired in a kiln.
Ingredients:
- Terra-cotta powder (4 parts by weight)
- Powdered sugar (1 part by weight)
- Maltodextrin (1 part by weight)
Inhaling terra-cotta is dangerous. Wear a dust mask and use proper ventilation.
Method:
- Mix the terra-cotta, powdered sugar, and maltodextrin together in a large bucket. This can be done by placing the lid on the bucket and shaking vigorously or, in a well-ventilated area, mixing with a drill mixer.
- Carefully fill the supply bed of the 3D printer with the terra-cotta mixture.
- Purge the black ink from the printhead and fill the supply reservoir with rice wine instead of the proprietary binder.
- Experiment with spraying different binder saturation levels and material layer thicknesses. Settings vary from printer to printer and in different climates depending on ambient humidity.
- Use established settings to print final object.
- Wait 24 hours to excavate and depowder the final object.
- Bisque-fire the air-dried porcelain part for strengthening.
- Glaze to taste.
- Fire to full temperature recommended by clay supplier. Enjoy!
Sugar-Sugar Powder
If your sweet tooth beckons, here’s a recipe for 3D printing sugar. It can be printed with either binder, and the results are just as sweet. There are only two ingredients in this recipe: sugar and sugar.
Ingredients:
- Granulated sugar (2 parts by weight)
- Powdered sugar, 10x or 12x (1 part by weight)
Method:
- Mix the granulated sugar and the powdered sugar together in a large container.
- Fill the supply bed of the 3D printer with the sugar mixture.
- Purge the black ink from the printhead and fill the binder bottle with rice wine. Experiment with spraying different binder saturation levels and material layer thicknesses. Settings vary from printer to printer and location, depending on ambient humidity. A good technique for testing is to make 5 × 5 × 150 mm test bars. Print them and see if the previous layer appears through the current printing layer. If so, it means the two layers are receiving enough binder and are fusing together.
- Use established settings to print final object.
- Wait twenty-four hours (a good starting point, but timing really depends on the humidity in the air) to excavate and depowder final object. Use the machine’s recommended setting and techniques for excavating.
- Postprocess with cyanoacrylate, polymer, or wax for strengthening (or don’t).
Salt Powder
If you aren’t in the mood for sweets, here’s something savory: a recipe for 3D printing salt.
Ingredients:
- Finely powdered salt (8 parts by weight)
- Maltodextrin (1 part by weight)
Method:
- Mix the finely ground salt with the maltodextrin, either by shaking in a large, closed bucket until evenly distributed or by combining with a drill mixer. Remember to do so only in a well-ventilated area and to protect yourself by wearing a dust mask or respirator.
- Purge the black ink from the printhead and fill the binder bottle with rice wine.
- Experiment with spraying different binder saturation levels and material layer thicknesses. Remember, settings can vary from printer to printer and in different climates depending on ambient humidity.
- Use established settings to print final object.
- Wait 24 hours to excavate and depowder the final object.
- Postprocess with cyanoacrylate, polymer, or wax for strengthening or leave natural.
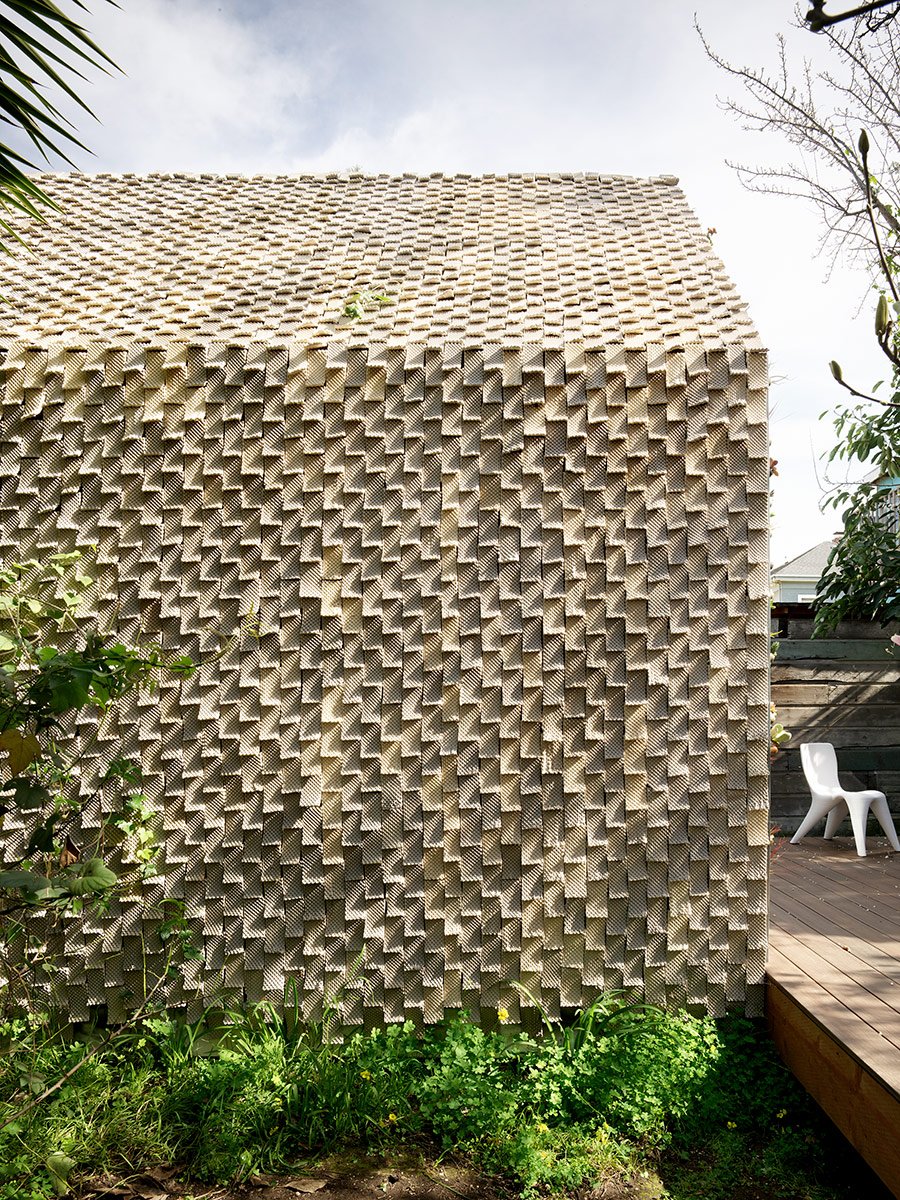
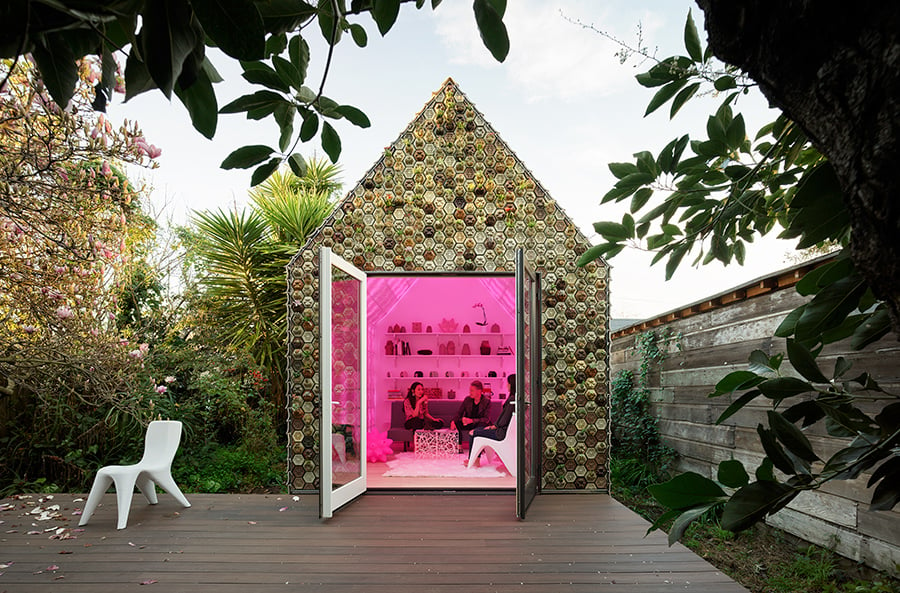
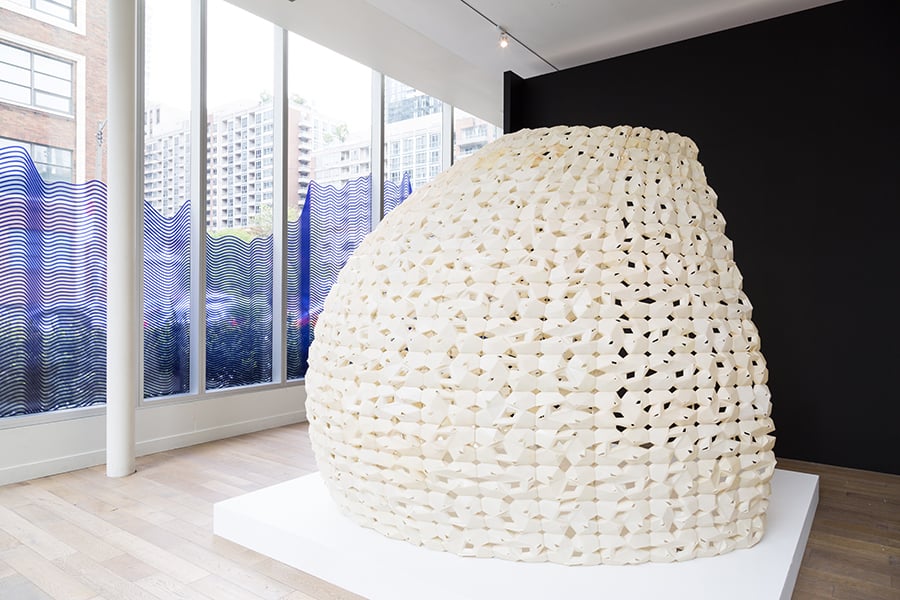
Below are a selection of images of the Cabin of 3D Printed Curiosities as well as selections from Printing Architecture: Innovative Recipes for 3D Printing:
You may also enjoy “Here’s How You Design for Living and Working in Outer Space.”
Recent Products
Products
How to Specify Stone Sustainably


